Wednesday, 2 March 2011

8 hours of PAPER manipulation later!

I thought about some of the techniques I'd learnt and also about how nature uses repetition and it gave me the idea to use one of the shapes I had created earlier (the spherical form - tabs on the outside) as this already contains repetition of triangles with tabs etc. and expand on it. I decided the best way to do this was to create almost a chain of these balls all joined together. This is how I went about doing it...


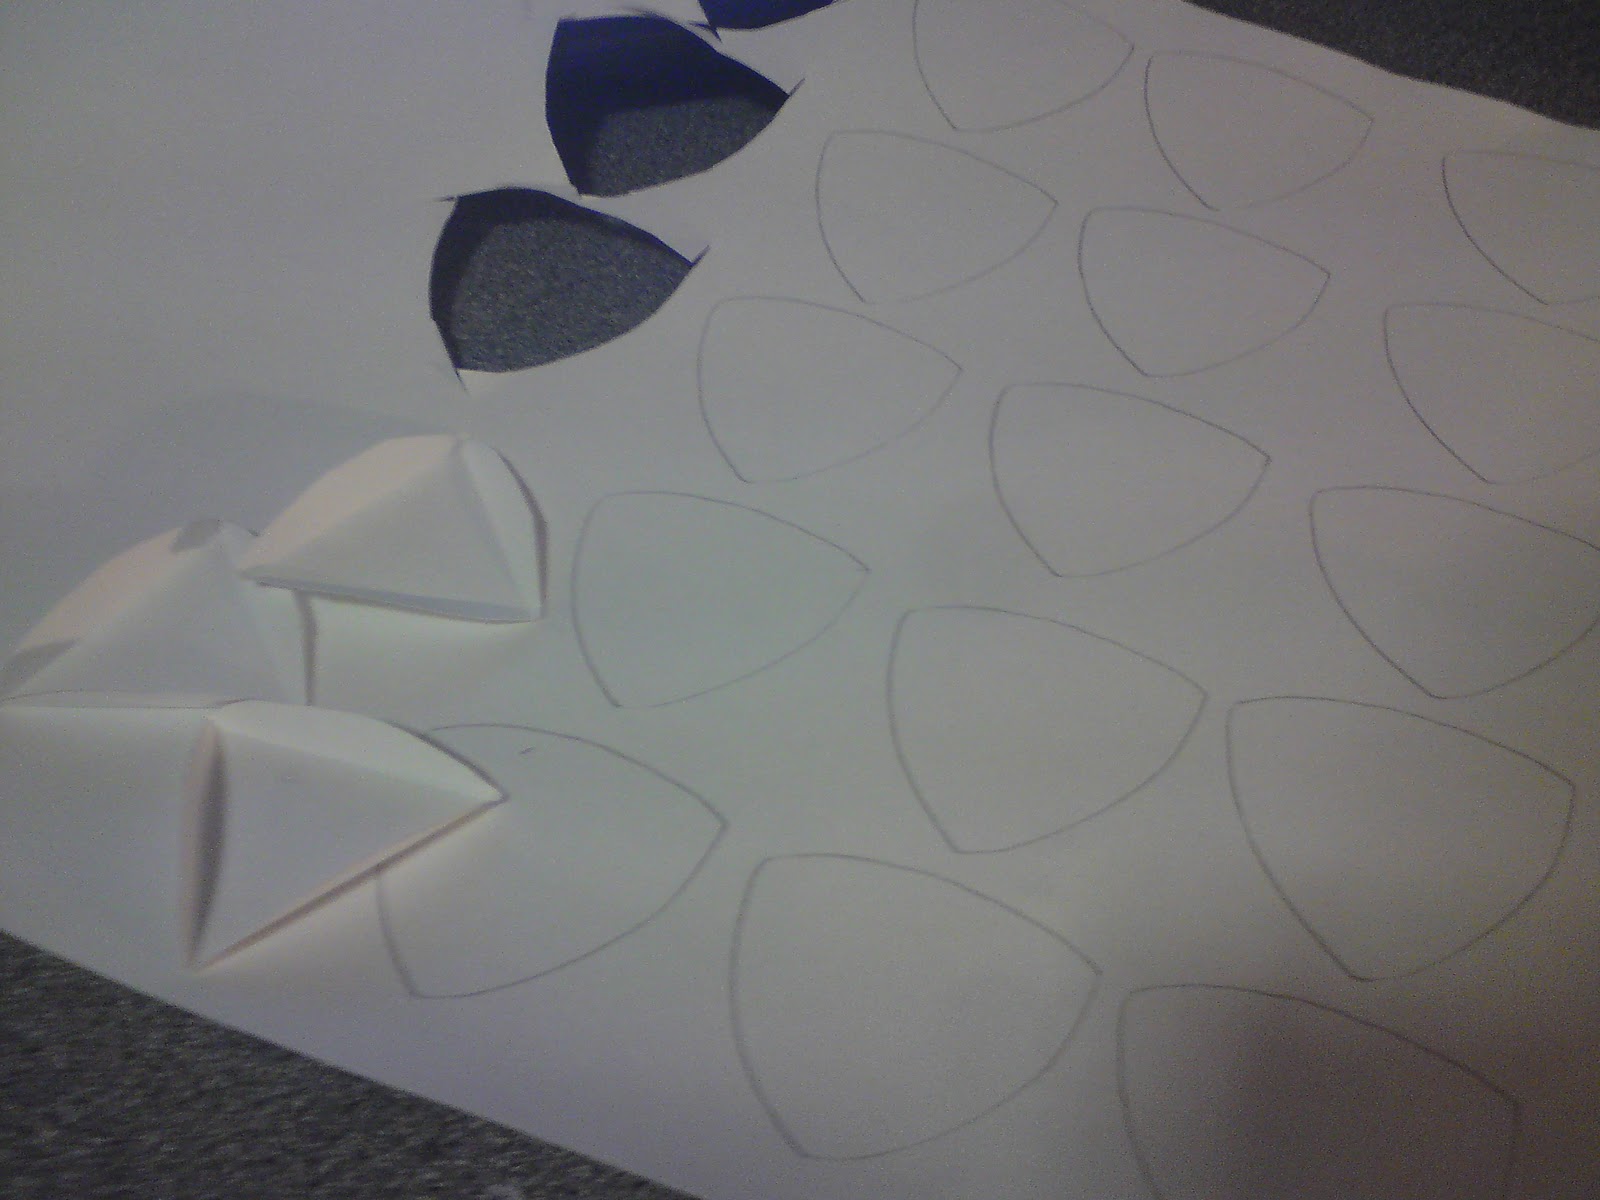
1) I created a template for my shapes using an equilateral triangle of 5cm edges. Using a compass I created curved tabs which will later be used to attach the sculpture together.  


2) I cut out lots and LOTS of the template on black card as I thought my sculpture would stand out in a darker colour. 


3) I used a scalpel to create score lines along where the triangle edges were before stapling the tabs of the pieces together. Having 5 corners joining at one point.  


4) As I started joining more and more of the small pieces together a spherical shape began to form and by using a template earlier on, the pieces all fitted together much better than when I first attempted the spherical form.


5) Rather than adding a final piece in to complete the sphere, I attached 3 other pieces to the tabs and started forming another sphere that joined easily and strongly to the original.


6) As you can see I created several spheres all joined up almost like a chain with some having more joins that others. One of the center spheres has three that join on to it.


7) I decided to alter the material I was using slightly by using white card. This would draw attention to my piece as it will now be two strong shades - Black and White.

Here are some photographs of the finished piece. Hopefully I will take some better ones with a better camera VERY soon!


Repetition in nature to inspire my PAPER model

To inspire me in the making of my Piece to be hung in the Atrium of Sheffield Hallam, Sheaf building, I took a look at Nature. Nature is full of repeat patterns that are much more noticeable once you open your eyes and really look.  In fact, nature is designed in such a way to be repetitive. I thought up some way in which the repetition was particularly obvious and browsed the internet to find images to demonstrate this. I would have sourced primary images, however it would be EXTREMELY difficult to get some of these shots (especially sand dunes and waves as I live in Sheffield!).


1) Clouds are maybe less obvious, however if you look they all have similar patterns and they are all almost rough copies of each other.


2) This fern leaf has several repeats. Each set of leaves coming off the main stem is a repeat of the others. If you also look really closely, there are hundreds of small leaves that make up the larger ones. They are repeats too.


3) This flower shows repetition in multiple ways too. The petals are all repeats and so are the seeds in the middle of the flower. They might not be EXACTLY the same, however they are very very similar. . . and thats good enough for me!


4) Sand dunes are a perfect example of repeat patterns. The way the wind blows creates these fantastic waves in the sand and they all follow the same pattern. This is nature truly showing off it's patterns is all their glory.


5) Water ripples are also repeats even if they don't look like them at first glance. They start as a small circle in the middle, then slowly get bigger around the first one. This is definitely a repeat pattern concentrated at a central point. 


6) Water waves are very obvious patterns in the sea as they always have the same basic shape/pattern. As you can see in the image below, with two waves following each other the repeat pattern is easy to see.


I did manage to get one image that I took at the end of last year when it was freezing and snowing, looking at it, it relates particularly well to the repeat pattern theme.

Icicles are certainly repeat patterns in nature. In this image they are also very evenly spaced out along the leaf showing another aspect of repetition.

Looking at how nature can inspire me to use repetition I am going to attempt to bring repetition into my sculpture more. Nature can't exactly be wrong can it!

Friday, 11 February 2011

Spherical forms from PAPER!

In the 3rd workshop with Richard Sweeney, he showed us a technique that made it possible to make spherical forms from flat paper. Similarly to the last workshop we were allowed as much paper as we wanted and we could use any for of adhesive to hold our sculptures together. By creating triangles with curved tabs, you can connect them all forming a ball shaped piece. Here is the piece I worked on in the Session and some extra work I did at home using the triangle skill.

Workshop work.
1) I used small equilateral triangles, each side being 5cm, to create this piece. I kept the tabs on the outside and stapled them to keep them secure.

2) I like how the tabs are raised from the flat surface of this piece. It adds the effect that maybe something is missing and it isn't yet complete.

3) Maybe next time I will use a different adhesive so that the edges are smoother. I could also try leaving it partly open and not a fully finished sphere. 


Work at Home.
1) I used larger triangles this time as I thought it would make the model easier to make. I used equilateral triangles of 15cm, three times larger than the previous design. 

2) I used spray mount to secure the tabs this time, which was much messier yet leaves a neater final piece. I also left the tabs inside the sculpture as apposed to outside like the workshop piece. 

3) Although it is technically a sphere, It has many edges and angles as it is made up of triangles. I think this adds a nice effect and if photographed properly, it would show some nice shadows.

4) The edges/seams of the triangles are really smooth and neat. This was one of the positives of using spray mount, because it needed time to set and you could alter it easily yet it holds well.

5) This image shows the scale of the finished piece in comparison to an average size glue stick. The glue stick comes to about half the height of the spherical piece.

6) Here are my two pieces together. As similar as they are (made using the same technique) they are also extremely different. I like how just by altering whether the tabs are inside or out it changes the whole piece all together.


As well as creating these beautiful spherical shapes, I also thought to use the leftover paper too. They also have repeat patters, which is the main aim of the brief, however their repeats are what is missing. By manipulating them and using techniques learnt previously, I tried to create something unusual from these cut offs.


By twisting the cut off sheet, I created quite an interesting piece with smaller viewing holes and spaces.

I'm going to continue working with spherical shapes and see if i can develop something more unique to be hung in the atrium.

Sunday, 6 February 2011

Artist Research for my PAPER project.

I've taken it upon myself to look into some other artists work as well as browsing through my piers blog pages. Looking into other artists work can, in my opinion only improve your own work. Whether it's because you take ideas and techniques from their pieces or use them as inspiration. Here are a few artists I stumbled upon while searching the internet and other sources.

Richard Sweeney
It only seems to make sense to look further into Richard Sweeney' work, considering he is helping out in our workshops and passing on some of his techniques. I have chosen a few pieces that I think really show his unique talent and skill at manipulating paper.


These first 3 pieces are not only cleverly crafted, they are also beautifully photographed to show a variety of angles and the light and dark of the piece. The paper appears to continuously keep on going as if it has no end.


The piece below is a fantastic example of Richard's work as it shows multiple techniques and both curved lines and smooth surfaces. 


This is a piece that answers the brief to design something to hang and fill the space in Somerset House. It's as if the paper takes the form of a falling ribbon caught in motion.


I really think that this piece works well with the photography. The concertina folding effect adds body and form to the simple material. 


Su Blackwell
While browsing the internet, I discovered an artist called Su Blackwell who's primary source is books. I found this very interesting as an existing raw material and the way she develops the books into art is truly inspirational. Here are some pieces that I think show her wonderful talent.


This piece is "Alice, a mad tea party" designed in 2007. All of the details, even the smallest items such as plates on the table are made up of pages from the book in which the paper sculpture is stood on.


Here is another Alice in Wonderland based piece titled "Down the rabbit hole" from 2008. You can clearly see on this piece where the hole has been cut and the pages are all revealed.


I love this piece and think that it is fascinating. 2009's "Hope" shows butterflies of all colours and sizes emerging from the pages of this book, as if finally released.


This is one of Su Blackwell' most recent sculptures (that I found), It was created in 2010 and is called "Hazel tree". The image below this one shows a close up of the leaves on the tree and the delicate branches. It must have been a very pain staking process to perfect this piece.


Not only does Su Blackwell design small scale pieces out of paper, she also created larger scale things such as this shop window display for a Christmas window at Nicole Farhi in London.


These last two examples of her work show an instillation designed called "The grass grows between her toes" created in 2010. It shows a very delicate and precise base to a much more simplistic top half.


Hopefully I will learn lots from both of these artists and be able to take ideas, technique and inspiration further into my own work.

Friday, 4 February 2011

Extreme wind and PAPER models aren't a good combo!

We had another workshop with Richard Sweeney today and he encouraged us to use different techniques, such as; concertina folding (which relates well with the brief as it uses a repeat folding pattern to create it), as well as diagonal folding and more scoring techniques. I liked the effect that these new skills created with the same basic material ... plain white paper! However, this time we were allowed to use as much paper as we wanted and we could use adhesives to join different parts together. You might think that this challenge seems much easier than last times, except that this week we were encouraged to use much larger sheets of paper, anything from A3 to A1!! 

I took some photographs of the space in which my final piece will eventually hang so that I could get a better idea of scale, repetition and make the whole brief come to reality. This is the Atrium in the Sheaf Building from a variety of angles so I could get the whole space in.


Here are some of the pieces I came up with this time, in some ways they are very similar to last times, but they are made with different techniques.

1) Using a concertina fold along the paper with diagonal folds to create some nice diamond shapes and lovely shadows when photographed. 

2) The same piece as shown above from a wider angle showing the whole piece and the folds in all their glory!

3) Using the same technique of folding and manipulating the paper but with more folds. It has a really nice structured effect.

4) You can see the shadow and highlight where certain area's of the piece are folded and cover other parts. I like the angle of this photograph.

5) This piece was made from a sheet of A3 paper and when I scored it with curved lines and twisted it, securing it with tape, it created a lovely hanging spiral.

 6) This is a similar idea to the previous one, however I used a large sheet of A1 paper and cut some area's away too. This left some lovely empty space in which the back drop is visible.

7) I love the surface created here, it's a really smooth flat area that curves off in both directions. I think it works really well with the straight line near the top.

8) In this image I captured the spiral by photographing the main body of it with a small area of the two sides that come out of it. I like this light and dark areas on this piece.

9) For this image I decided to look at it from a different angle. I love the way you can see the whole curve as if it's being stopped in motion.


I hope to continue to develop my paper manipulation skills further and then take forward some of my better ideas to create a wonderful final piece to be hung in the Atrium. 

ONE LAST NOTE... paper and wind are a bad combo! I had to carry my pieces home in the form they were in and due to the awfully powerful wind, they were destroyed. Looks like I'll have to lay them flat, use them as a template and try again! Practice makes perfect I guess!!